Can a Table Saw Cut Angles? The Essential Facts

Yes, a table saw can absolutely cut angles. You just need to know how to set up your saw correctly. Most modern table saws have a tilting blade mechanism that allows you to make precise angled cuts, often called miter cuts.
Learning to make these angled cuts is essential for many woodworking projects. It’s how you create the perfectly fitted corners you see in picture frames, boxes, and even more complex furniture. It might seem tricky at first, but with a little practice, you’ll be making clean angled cuts like a pro. We’ll cover the key adjustments you need to make.
- Table saws can cut angles.
- You adjust the blade’s tilt for angled cuts.
- This is essential for projects like frames and boxes.
- We’ll show you how to set it up easily.
Let’s walk through exactly how to set your table saw up for those perfect angle cuts.
Cutting Angles With Your Table Saw: How It’s Done
Can your table saw cut angles? Yes, absolutely. It’s one of its most useful features. This allows you to create all sorts of joinery and decorative cuts. You’ll find yourself using this capability in many woodworking projects. It’s how you build everything from simple boxes to detailed furniture. Let’s break down exactly how you achieve these angled cuts.
The Blade Tilt: Your Key to Angled Cuts
The secret to cutting angles on a table saw is the blade tilt mechanism. Most modern table saws are designed with a blade that can pivot. Instead of cutting straight up and down (a 90-degree angle), you can tilt the blade to an angle. This tilted blade then cuts through your wood at that specific angle.
Understanding the Blade Angle Adjustment
You’ll find a handwheel, usually located at the front or base of your table saw. Turning this wheel adjusts the angle of the blade. As you turn it one way, the blade tilts to the left. Turning it the other way tilts it to the right. Most saws allow you to tilt the blade up to 45 degrees in either direction. Some specialized saws might offer more range.
Reading the Angle Scale
Right next to the adjustment handwheel, there’s typically an angle scale or indicator. This scale shows you the exact degree to which the blade is tilted. It’s marked with common angles like 15, 22.5, 30, and 45 degrees. You can usually lock the blade at any precise angle indicated on this scale. Double-checking this measurement is a good habit.
Locking the Blade Securely
Once you’ve set your desired angle, it’s crucial to lock the blade in place. There’s usually a locking mechanism associated with the tilt handwheel. You’ll want to tighten this firmly. A blade that shifts during the cut can ruin your workpiece and is a safety hazard. Always ensure it’s locked before you begin sawing.
Common Angled Cuts and Their Uses
The ability to cut angles opens up a world of woodworking possibilities. You’re not limited to just straight cuts anymore. Angled cuts are fundamental for creating joinery. They allow pieces of wood to fit together precisely at corners and edges.
Miter Cuts for Frames and Boxes
The most common angled cuts you’ll make are miter cuts. These are cuts made at an angle other than 90 degrees. For example, to make a simple picture frame, you’ll cut each corner at a 45-degree angle. When you join two pieces with 45-degree miters, they form a perfect 90-degree corner. This technique is essential for picture frames, jewelry boxes, and even the basic construction of many furniture pieces.
Bevel Cuts for Edges and Joinery
Another type of angled cut is a bevel cut. This is a cut made along the edge of a board, where the blade is tilted. Unlike a miter cut, which typically cuts through the entire width or thickness of the material, a bevel cut shaves off an angle from the edge. This is useful for creating decorative edges or for specific types of joinery where pieces need to fit flush at an angle. Think of the edge of a shelf that meets a cabinet side at an angle.
Setting Up Your Table Saw for Angled Cuts
Getting your table saw ready for an angled cut is a straightforward process. The key is to pay attention to detail and safety. Always make sure the saw is unplugged when you are making adjustments to the blade height or angle.
Determining Your Angle and Setup
First, you need to know the exact angle you want to cut. For a standard four-sided box or frame, you’ll likely need 45-degree cuts on each piece. If you’re making something more complex, you’ll need to calculate the angles based on your project’s design. Once you have your angle, you’ll use the tilt handwheel.
Setting the Blade Angle Correctly
Carefully turn the tilt handwheel until the angle indicator on your saw shows the desired degree. For example, if you need a 45-degree miter cut, adjust the wheel until the scale reads 45. If you need to cut angles on opposite sides of a board for a corner, remember that one side will likely be tilted one way (e.g., left) and the other side will be tilted the opposite way (e.g., right) to make a complete corner.
Blade Height and Safety Guards
After setting the angle, you’ll need to adjust the blade height. For most angled cuts, you want the blade to be just slightly higher than the thickness of your wood. A common recommendation is to have the blade teeth extend about 1/4 inch above the surface of the material. This ensures a clean cut without exposing too much of the blade. Also, ensure your safety guard and riving knife are properly aligned and functioning. These are critical safety features. Many experts recommend ensuring the riving knife is set to match the blade angle if your saw allows for it, though this is not always possible on all models.
Using the Miter Gauge and Crosscut Sled
While the blade tilt is essential, you also need a way to guide your wood through the tilted blade. You have two primary options for this: the miter gauge and a crosscut sled.
The Miter Gauge Method
Every table saw comes with a miter gauge. This is a long, thin piece that slides into a slot on your table saw’s surface. It has a head that can be rotated to different angles, allowing you to hold your wood at a precise angle against the gauge. For angled cuts, you set the miter gauge to the desired angle (e.g., 45 degrees) and push the workpiece through the tilted blade, keeping it firmly against the gauge.
The Crosscut Sled Method
A crosscut sled is a jig you can build or buy for your table saw. It consists of a flat base with a fence attached at a 90-degree angle. You can then create a second fence on the sled that is set to a specific angle (e.g., 45 degrees). Sliding your wood against this angled fence allows for very accurate and repeatable angled cuts. Many woodworkers find crosscut sleds to be more stable and precise for angled cuts, especially for smaller pieces.
Tips for Making Clean Angled Cuts
Achieving clean, precise angled cuts takes a bit of practice and attention to detail. Here are some tips based on common woodworking advice:
- Use a sharp blade. A dull blade will tear the wood, leaving a rough edge. A fresh, sharp blade is essential for clean cuts.
- Support your workpiece. For longer pieces, use outfeed support or a roller stand to prevent the wood from dropping as it clears the blade.
- Feed rate matters. Don’t rush the cut. Feed the wood at a steady, consistent rate. Too fast can cause tear-out, too slow can burn the wood.
- Make test cuts. Always make a test cut on a scrap piece of the same wood. Measure and check the angle before cutting your project piece.
- Clean your table saw. Sawdust can interfere with the angle adjustments and the movement of your miter gauge or sled.
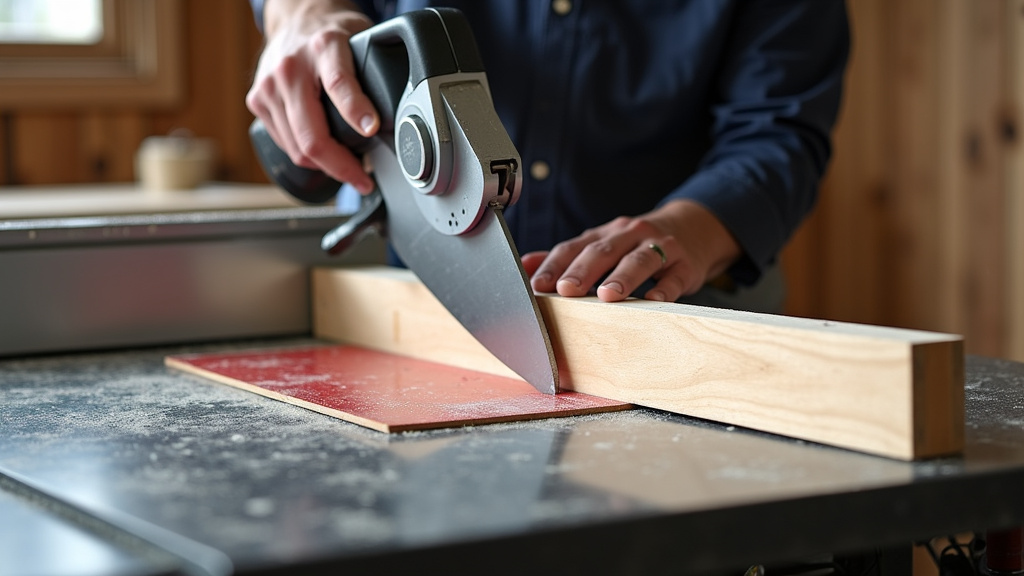
Safety First When Cutting Angles
Working with a table saw, especially when making angled cuts, demands a strong focus on safety. The blade is tilted, which changes how the wood interacts with the blade and the saw’s safety features. It’s crucial to follow best practices.
Understanding the Risks of Angled Cuts
When the blade is tilted, the angle of approach and exit for the wood changes. This can sometimes lead to kickback if the wood is not properly supported or guided. Kickback happens when the wood is suddenly thrown back towards the operator. It’s one of the most dangerous aspects of table saw operation. Additionally, with a tilted blade, there’s less surface area for the blade guard to effectively cover the blade, making it even more important to use push sticks or other aids.
Essential Safety Precautions
Always wear safety glasses or a face shield to protect your eyes from flying debris. Ensure your table saw is unplugged when making adjustments. Keep your hands a safe distance from the blade at all times. Use push sticks or push blocks to guide smaller pieces through the cut, especially when the blade is tilted. Never reach over the blade. Many sources, including OSHA guidelines, strongly advise against making freehand cuts on a table saw, particularly with a tilted blade.
The Riving Knife and Blade Guard
The riving knife is a critical safety device that helps prevent kickback by keeping the kerf (the cut) open behind the blade. On some table saws, the riving knife can be adjusted to match the blade’s tilt. If your saw has this capability, use it. Similarly, ensure your blade guard is in place and functioning. If the guard interferes with your angled cut, consider using a specialized accessory like a zero-clearance insert or a different type of guard designed for such cuts, but never operate without some form of protection.
When to Use a Different Tool
While your table saw is a powerful tool for angled cuts, it’s not always the best choice for every situation. Sometimes, another tool might be more appropriate or safer.
Considering Other Tools for Angled Cuts
For simple, one-off angled cuts on smaller pieces of trim or molding, a miter saw (also known as a chop saw) is often more convenient. These saws are specifically designed for making precise angled cuts quickly and easily. For very small, delicate angled cuts or when working with very thin materials, a hobbyist-grade rotary tool with an appropriate cutting attachment might be considered, though this is less common for general woodworking. However, for larger dimension lumber and the need for repeatability and accuracy across multiple pieces, the table saw with its blade-tilt function and a good jig or miter gauge usually excels.
When Table Saw Angles Might Be Difficult
Extremely wide or heavy pieces can be challenging to handle safely when making angled cuts on a table saw, especially if you don’t have adequate outfeed support. Also, very small or intricate angled cuts might be better suited for a different tool or require specialized jigs that go beyond the basic setup. If your table saw’s tilt mechanism is stiff, inaccurate, or difficult to lock, it might be time for maintenance or a different tool might be safer.
Conclusion
You’ve learned that your table saw is more than capable of cutting angles. The tilting blade mechanism is your key to creating those perfect miter cuts for frames or bevel cuts for decorative edges. Remember to always set your desired angle accurately using the handwheel and angle scale, and then securely lock the blade in place. Whether you use the built-in miter gauge or a crosscut sled, practice and attention to detail will lead to clean, precise results. Keep safety at the forefront, especially with tilted blades, and you’ll confidently tackle angled cuts in your woodworking projects.
Frequently Asked Questions
What’s the difference between a miter cut and a bevel cut on a table saw?
A miter cut is made across the width of a board at an angle, typically to join two pieces at a corner. A bevel cut is made along the edge of a board, where the blade is tilted to shave off an angle.
Can I cut angles steeper than 45 degrees on my table saw?
Most standard table saws allow you to tilt the blade up to 45 degrees in either direction. Some specialized models might offer a wider range, but always check your saw’s specifications to know its limits.
How do I ensure my angled cuts are perfectly square to the edge of the wood?
Use a reliable guide like a crosscut sled with an accurately set fence, or ensure your miter gauge is precisely set to the desired angle and held firmly against it. Always make test cuts on scrap wood first.
Is it safe to use the blade guard when making angled cuts?
It can be tricky. Some table saws allow the riving knife to be adjusted with the blade tilt, which is helpful. If the standard guard interferes, explore specialized guards or accessories, but never skip protection entirely. Always use push sticks for safety.
When should I consider using a miter saw instead of my table saw for angled cuts?
A miter saw is often quicker and more convenient for repetitive angled cuts on smaller pieces like trim or molding. For larger lumber or when precise repeatability across many pieces is needed, the table saw setup might be better.