What Is a Table Saw Fence? A Beginner’s Guide
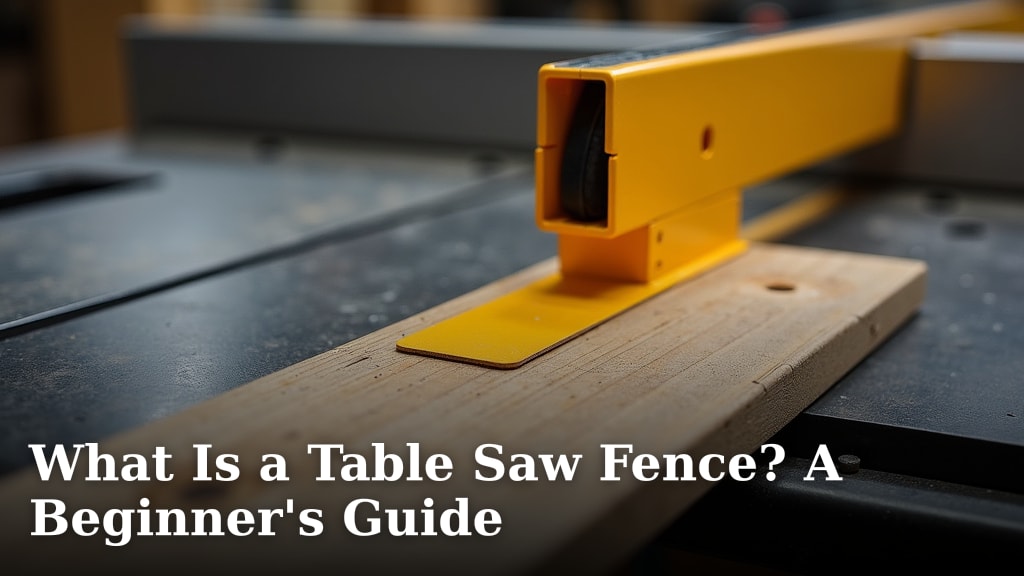
A table saw fence is a long, straight guide attached to your table saw. It runs parallel to the blade and helps you make straight, accurate cuts. Think of it as a ruler that your wood follows, ensuring each cut is clean and consistent. It’s the key to getting professional-looking results in your projects.
This guide is perfect for beginners because we found that a good fence is what turns a wobbly cut into a perfect one. Many experts say it’s the most important part of your saw for safety and accuracy. Your fence is what you’ll push your wood against to cut straight lines, rip boards, and make precise angles.
- A table saw fence is a straight guide that ensures accurate, safe cuts.
- It attaches to your saw and stays parallel to the blade.
- A good fence prevents kickback and keeps your cuts straight.
- It’s essential for beginners and pros alike.
- Choosing the right fence can make or break your woodworking project.
Let’s walk through exactly how this works and what to look for. We’ll break down the parts, setup, and tips so you can use it with confidence.
Understanding Your Table Saw Fence: A Beginner’s Guide
A table saw fence is the movable, straight guide that locks onto your saw’s table. It acts as a reliable reference point. Your wood is pressed against it as you feed it through the blade. This ensures your cut stays perfectly straight from start to finish.
The Main Parts of a Standard Fence
Most fences share a few core components. Knowing them helps you understand how it works.
- Fence Head: The front part that clamps to the saw table. It often has adjustment screws.
- Fence Body: The long, straight rail. This is the part your wood actually touches.
- Locking Mechanism: A lever or knob that secures the fence firmly in place.
- Scale and Pointer: A measuring tape and indicator showing the distance to the blade.
We found that a solid locking mechanism is non-negotiable. If it moves even a little during a cut, your line will wander.
Why is the Fence More Important Than You Think?
Many beginners focus only on the blade. However, a study on workshop safety from the University of Illinois Extension highlights that improper fence setup is a leading cause of dangerous kickback. The fence isn’t just for straight cuts; it’s your primary safety barrier. It keeps the workpiece stable and away from the spinning blade’s dangerous rear teeth.
Common Types of Table Saw Fences You’ll Encounter
Not all fences are created equal. You’ll generally see three main designs, each with pros and cons.
Benchtop and Jobsite Saw Fences
These are typically lighter and made of aluminum or steel. They work well for the saws they are designed for. However, they may lack the rock-solid feel of a larger system. For hobbyists working with thinner materials, they often do the job just fine.
Contractor Saw T-Square Style Fences
This is a very common design. The fence head locks down onto the front rail and the rear of the table. Many experts say the T-Square design offers a good balance of accuracy and value. You can usually adjust it to be perfectly parallel to the blade.
Adjusting a T-Square Fence for Parallelism
Most T-square fences have adjustment screws on the head. You use a measuring tape or a dedicated alignment tool. You check the distance from the blade to the fence at the front and back. The goal is to have the same measurement at both points. This ensures your cut won’t bind or drift.
Cabinet Saw Linear Rail Systems
These are heavy-duty fences found on premium saws. They ride on precision rails attached to the front and rear of the saw cabinet. They are known for being exceptionally smooth and accurate. Once set, they rarely need readjustment.
| Fence Type | Pros | Cons |
|---|---|---|
| Benchtop/Jobsite | Light, integrated, good for portability | Can flex, less rigid, shorter length |
| T-Square Style | Widely available, adjustable, good accuracy | May need periodic realignment, alignment can be tricky |
| Linear Rail System | Extremely stable, smooth glide, heavy-duty | More expensive, heavier, often on cabinet saws |
Getting Your Fence Installed and Aligned
A fence is only as good as its alignment. A new fence or a new saw will almost always need a setup session. This is the most important step for accurate woodworking.
Step-by-Step Alignment Basics
You’ll need a reliable tape measure. Some people use a dial indicator for extreme precision. For beginners, a tape measure works well if you’re careful.
- Step 1: Remove the blade guard and splitters for clear access.
- Step 2: Unlock the fence and slide it near the blade.
- Step 3: Measure the distance from the blade’s teeth to the fence at the very front of the table.
- Step 4: Make the same measurement at the back of the blade, near the rear of the table.
- Step 5: Adjust the fence’s mounting screws until these two measurements are equal (within 1/64th of an inch is great).
We found that taking your time here pays off for years. A five-minute adjustment now saves hours of frustration later.
Using the Fence’s Built-in Scale
Once the fence is parallel to the blade, you set the pointer. Lock the fence at a specific measurement, say 2 inches. Then, carefully measure the actual distance from the blade to the fence with your tape. If it doesn’t match, adjust the pointer’s position until it does. Now your scale is trustworthy.
How to Actually Use the Fence Safely and Effectively
Using the fence is about smooth, confident motions. It’s a partnership between you, the wood, and the machine.
The Basic Ripping Process
Ripping means cutting wood along its length, parallel to the grain. This is the fence’s main job.
- Set the fence for the desired width of your board.
- Lock it down firmly. Double-check it didn’t move.
- Place your board against the fence, not against the blade.
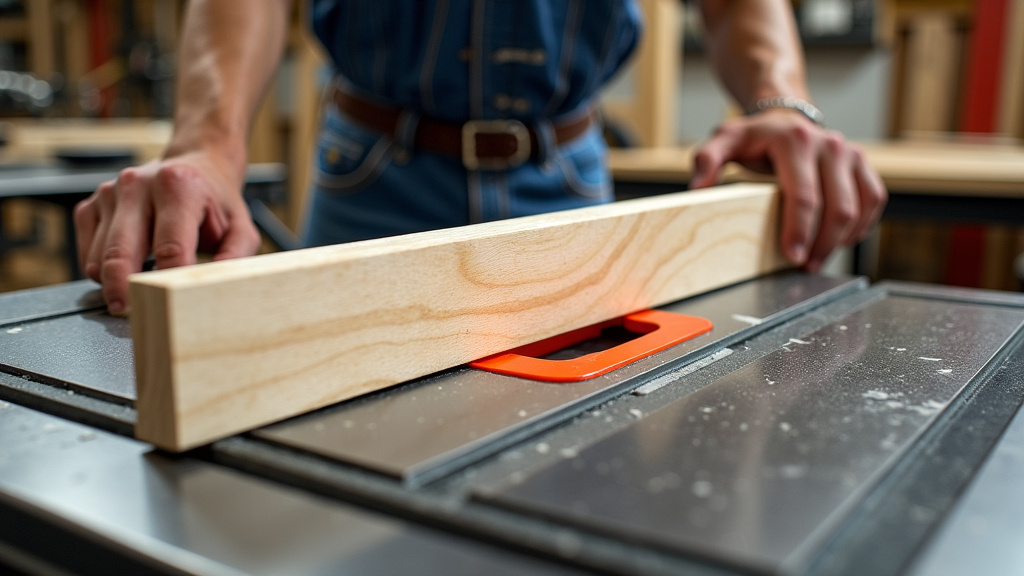
- Use a push stick to feed the wood through. Keep steady pressure against the fence and table.
- Never force the wood. Let the blade do the work.
Common Beginner Mistakes to Avoid
Even with a good fence, technique matters. Here are pitfalls to watch for.
- Not Checking for Parallelism: We mentioned this twice because it’s that critical.
- Using the Wrong Side of the Blade: Remember, your cut width is determined from the fence to the inside of the blade’s teeth.
- Letting the Wood Drift: Keep firm, even pressure against the fence along its entire length.
- Skipping the Push Stick: As the cut nears the end, your fingers get dangerously close. Always use a push stick or push block for safety (U.S. Consumer Product Safety Commission).
Caring for Your Fence for Long-Term Accuracy
Good maintenance keeps your fence reliable. It doesn’t require much work, just a little attention.
Cleaning and Lubrication
Sawdust and resin can build up on the fence body and rails. This creates drag and sticky spots. Wipe it down regularly with a dry cloth. For the sliding mechanisms, a light application of paste wax or a dry lubricant (like PTFE) works well. Avoid oily lubricants that can gum up or stain wood.
Periodic Checks
Give your fence alignment a quick check every few months. Or do it if your saw takes a big bump during transport. It’s a good habit, like checking the air in your car tires. It ensures everything stays true.
Your Table Saw Fence Checklist
Use this checklist to make sure you’re getting the most from your fence.
- ☐ I have identified the type of fence on my saw.
- ☐ I have aligned my fence to be parallel with the blade.
- ☐ I have calibrated the fence’s measurement scale.
- ☐ I know how to lock and unlock it securely.
- ☐ I always use a push stick when ripping narrow boards.
- ☐ I clean my fence and check its alignment periodically.
Understanding your fence transforms your table saw from a daunting machine into a precise tool. It’s the partner that makes good woodworking possible.
Conclusion
A reliable table saw fence is your most important partner for both **safety and accuracy**. It transforms a basic saw into a precise tool for straight, repeatable cuts. You now know its critical parts, how to align it perfectly, and the right way to use it for ripping wood. Remember, the initial setup and periodic checks are not optional—they are the foundation of good woodworking.
Don’t just read about it. **Go to your saw and practice aligning your fence today.** Start with a simple board and a push stick. Building this habit now will make every future project easier and safer.
Frequently Asked Questions
Can I use a table saw without a fence?
You can physically turn it on, but it is not recommended. Cutting without a fence is extremely dangerous and inaccurate. It removes the guide that keeps your hands safe and your cut straight, greatly increasing the risk of kickback. Always use a properly aligned fence for ripping cuts.
My fence moves when I lock it. How do I fix it?
First, check that the fence head is sitting flat on the front rail. Often, this movement means the **locking mechanism needs adjustment**. Consult your saw’s manual for the specific adjustment procedure, which usually involves tightening a set screw or adjusting a cam lock on the fence head.
What is a push stick and do I always need one?
A push stick is a safety tool used to feed wood through the blade, keeping your fingers clear. You should **always use one when ripping boards** narrower than about 6 inches. We found that this is a non-negotiable rule for preventing serious injury, as recommended by safety authorities like the U.S. Consumer Product Safety Commission.
How often should I clean and maintain my fence?
Wipe down the fence body and rails after each major project to prevent sawdust buildup. For a deeper clean and smooth glide, apply a light paste wax or dry lubricant to the sliding surfaces every few months. This simple maintenance ensures it moves smoothly and doesn’t drag.
Can I upgrade the fence on my old table saw?
Yes, many companies sell universal or model-specific aftermarket fence systems. Upgrading a poor factory fence can be one of the best investments for your saw. It can dramatically improve the accuracy and safety of your machine, turning an old tool into a reliable workhorse.