What Is a Table Saw Splitter? A Practical Answer
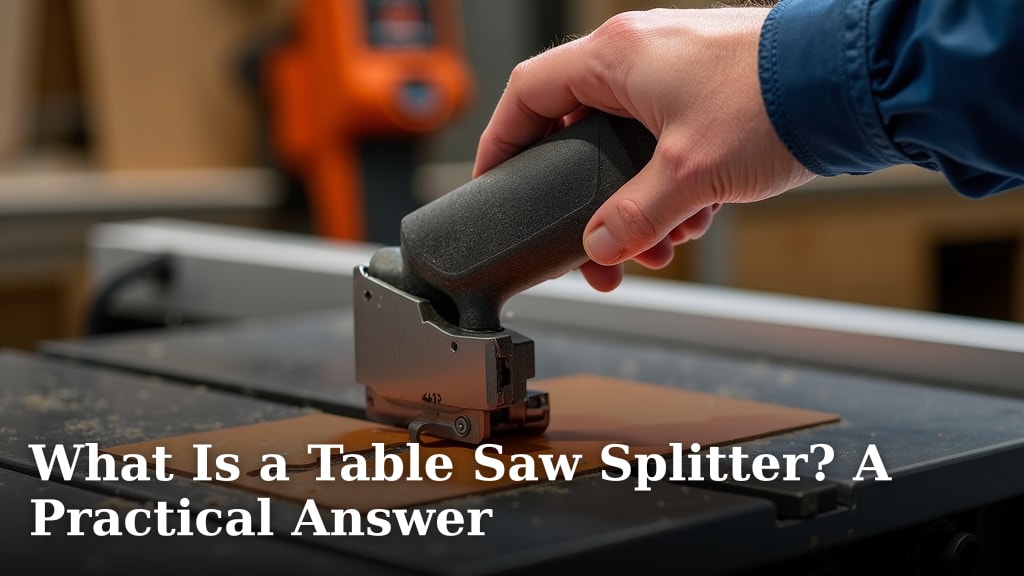
A Practical Look at the Table Saw Splitter
A table saw splitter is a small, fixed metal or plastic fin that sits behind your saw blade. Its primary job is simple and vital: it keeps the wood from pinching the back of the blade. By doing this, it helps prevent one of woodworking’s most dangerous events, called **kickback**.
How a Splitter Keeps You Safe
When you make a cut, the wood fibers separate. Without a splitter, the cut wood can close back together, trapping the spinning blade. This forces the workpiece to be thrown violently back at you. The splitter acts as a barrier, holding that cut open.
Preventing the Dreaded Kickback
We found that kickback occurs when the blade catches the workpiece and hurls it. The U.S. Consumer Product Safety Commission has documented thousands of table saw injuries annually, with kickback being a leading cause. A splitter is your first line of defense against this.
Think of it like a **crowbar**. It gently pries the two halves of the wood apart as you feed it through. This single function makes your saw dramatically safer for every cut you make.
Maintaining a Clean Cut
A splitter doesn’t just protect you; it improves your work. By preventing pinching, it also stops the blade from wandering off the cut line. This results in straighter, cleaner edges. You’ll spend less time sanding out burn marks or fixing uneven cuts.
Understanding the Different Types of Splitters
Not all splitters are the same. Choosing the right one depends on your saw and what you make. We found two main types that most woodworkers will encounter.
Fixed vs. Adjustable Splitters
Standard Fixed Splitter
This is the most common type. It’s a simple, rigid piece that mounts to your saw’s throat plate or insert. It does its job but requires manual adjustment when you change blade thickness. It’s reliable and affordable.
Adjustable Splitter or Riving Knife
Many modern saws come with a riving knife. This is an advanced splitter that raises, lowers, and tilts with the blade. It stays in a perfect position for every cut, even non-through cuts like grooves. Most safety experts and organizations like OSHA now recommend a riving knife as the superior safety device.
When Do You Use a Splitter? (And When Don’t You?)
You should use a splitter for almost every through cut where the blade exits the top of the wood. This includes ripping long boards and cutting sheet goods. It’s the safest, most common practice.
When to Remove the Splitter
There are a few specific times you’ll need to remove it. For example, when making a **dado or groove cut** that doesn’t go all the way through the wood. Also, for certain types of joinery like tenons. Always replace it immediately after these specialized cuts.
Installing and Aligning Your Splitter
Proper installation is key. A misaligned splitter can be worse than none at all. Take your time with this process. A few minutes here ensures safety and performance.
Basic Installation Steps
The process varies slightly by saw model, but the principle is universal. Always disconnect power first. Follow your manual, but here is a general checklist:
- Disconnect the power cord from the wall outlet.
- Remove the throat plate or table insert.
- Locate the mounting point behind the blade arbor.
- Secure the splitter bracket using the provided hardware.
- Use a square to check alignment with the blade.
The Alignment Checklist
Perfect alignment is non-negotiable. The splitter must be exactly parallel to the blade’s body (the thick part, not the teeth). Use a reliable square for this. We found that even a slight misalignment can cause binding or a dangerous cut.
Check these five points:
- Left-to-Right Alignment: It must be centered directly behind the blade.
- Front-to-Back Alignment: It must be parallel to the blade’s sides.
- Height Alignment: The top should be just below the top of the blade’s highest tooth.
- Clearance: Ensure it doesn’t touch the blade at any point during rotation.
- Sturdiness: Give it a gentle push to confirm it’s securely mounted.
Splitter vs. Riving Knife: A Quick Comparison
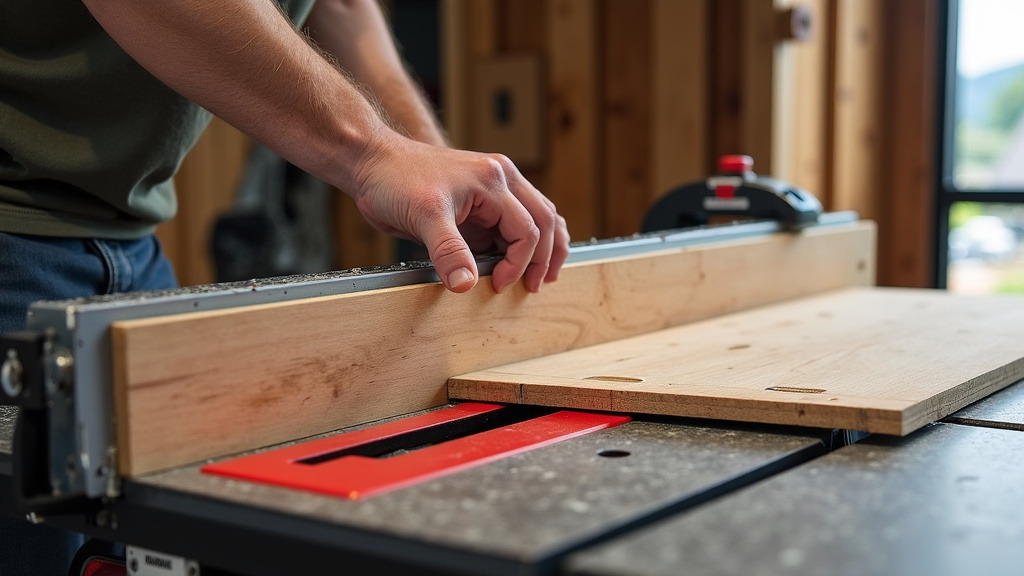
People often confuse these two related devices. While both prevent kickback, their design and use cases differ. Understanding this helps you know what safety feature your saw has.
| Feature | Table Saw Splitter | Riving Knife |
|---|---|---|
| Mounting | Mounts to the saw table or throat plate. | Mounts directly to the blade arbor. |
| Movement | Fixed in place; must be removed for some cuts. | Raises, lowers, and tilts with the blade. |
| Best For | Basic through-cuts on older or simpler saws. | All cuts, including non-through grooves and dados. |
| Safety Level | Good basic safety device. | Considered the superior and more versatile safety device. |
Maintaining Your Splitter for Long-Term Use
A splitter is low-maintenance, but not no-maintenance. Keep it clean. Sawdust and resin can build up on its surface, creating friction. Wipe it down regularly with a clean cloth.
Check for damage. A bent or cracked splitter must be replaced immediately. It cannot do its safety job if it’s compromised. Fortunately, they are often inexpensive and easy to find as replacement parts.
Key Takeaways for Safer Sawing
A table saw splitter is a small component with a massive responsibility. It’s not an optional accessory; it’s a core safety feature. Using it properly is a sign of a careful and responsible woodworker.
Remember, the goal is always to control the wood and the cut. The splitter helps you do exactly that. It lets you focus on your project, not on worrying about what might happen next.
Always prioritize safety features. We found that consistent use of safety devices like splitters is a hallmark of experienced, accident-free woodworkers. Respect the tool, use its safeguards, and you’ll create great work for years to come.
Conclusion
You now have a clear picture of what a table saw splitter is and why it matters. It’s a simple device that acts as your first defense against dangerous kickback while also helping you make straighter, cleaner cuts. We’ve walked through the types, installation steps, and when to remove it for specialized cuts. Your final action step is to check your splitter before your next session. Confirm it’s securely mounted and perfectly aligned. Taking this small, consistent step will help you work with more confidence and safety for years to come.
Frequently Asked Questions
Do I need a splitter if my saw has a riving knife?
A riving knife is an advanced, more versatile version of a splitter that moves with the blade. If your saw includes a riving knife, it typically serves the same safety purpose and may not require a separate splitter. Always consult your saw’s manual for the intended safety device setup.
How often should I check my splitter’s alignment?
You should verify alignment every time you install it, change blades, or notice an issue. A quick visual check before each use is also a good habit. We found that consistent checks prevent problems before they affect your safety or cut quality.
What should I do if my splitter is bent or cracked?
A damaged splitter must be replaced immediately, as it can no longer safely prevent kickback. Replacement parts are usually available from the saw manufacturer. We recommend keeping a spare on hand for older saw models to avoid workshop downtime.
Are splitters one-size-fits-all for all table saws?
No, splitters are often designed for specific saw makes and models to ensure proper fit and alignment. Using an incorrect splitter can create a safety hazard. Always check compatibility with your saw’s manual or the manufacturer before purchasing.
Can I make a splitter myself if mine is missing?
While you could fabricate a splitter, it’s generally safer and easier to purchase the correct OEM part. A homemade version may not align properly, which could increase risk. We found that investing in the correct part is the best choice for long-term safety.