What Is a Table Saw Miter Gauge? Answered
Understanding Your Table Saw Miter Gauge
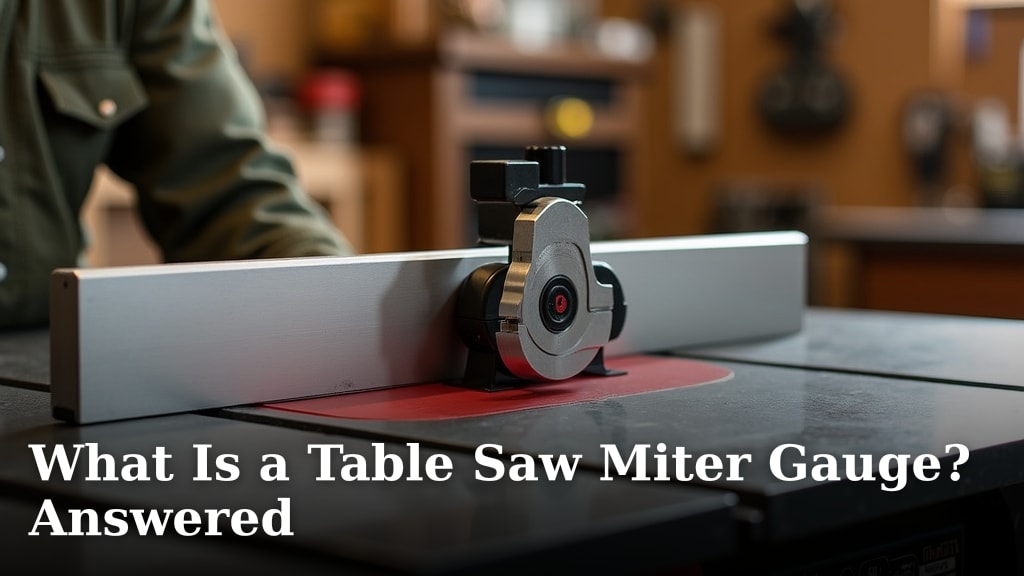
A table saw miter gauge is the essential sliding tool that helps you make angled cuts. It slides in a slot on your saw’s table. You set the angle, and the gauge holds your wood steady as you push it through the blade. Think of it as your hands-free, precision partner for 90% of angled cuts.
How This Critical Accessory Works
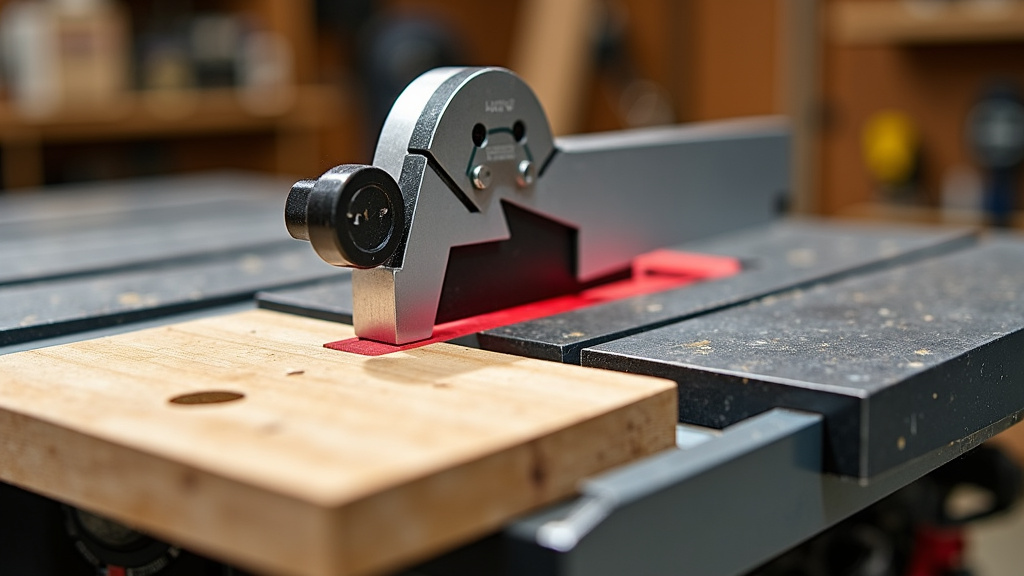
Every table saw has a miter slot. Your miter gauge fits right into it. The gauge has a protractor-like head that swivels to the angle you need. You lock it in place. Then, you press the wood against the flat face of the gauge and slide the whole assembly forward. The blade cuts at that exact angle, every time. It’s a simple system, but it changes everything.
The Core Components of the Gauge
Most miter gauges are straightforward. They have a few key parts that work together. Understanding these helps you use it better and know what to look for when buying one.
- The Guide Bar: This is the part that fits into the miter slot. It should slide smoothly without wobble. A snug fit means more accurate cuts.
- The Head (or Fence): This is the flat, wide part where you rest your wood. It pivots to set the angle. A good head is sturdy and square.
- Angle Scale & Lock: The scale shows degrees. A locking handle or knob holds the angle firm. You need a clear scale and a lock that won’t slip mid-cut.
- Attachment Points: Many gauges have holes or slots to attach a longer “auxiliary fence.” This gives you more support for longer boards.
Why It’s Different from a Miter Saw
Don’t confuse this with a dedicated miter saw. That’s a separate tool with a circular blade that pivots. A miter gauge is an accessory for your table saw. It lets you make angled cuts on pieces that are already on the table. Many woodworkers use both, but the miter gauge is your table saw’s built-in way to handle angles.
What You Use It For: Everyday Workshop Jobs
You’ll reach for your miter gauge more often than you think. It’s the go-to tool for cutting frames, molding, and trim to fit corners. It’s also perfect for making angled joints like picture frames or box corners.
Cuts You Can Make with a Miter Gauge
From simple to slightly fancy, this tool covers the most common angle cuts. You’ll use it for:
- Corners for Frames: Making the 45-degree cuts for a square picture frame.
- Trim and Molding: Cutting crown molding or baseboard to fit walls.
- Angled Joints: Creating hexagonal or octagonal shapes for projects.
- Beveled Edges: Some gauges can be tilted for simple bevels, though a dedicated bevel jig is often better.
Limitations to Keep in Mind
This tool is great, but it’s not for everything. It’s not as fast or precise as a dedicated miter saw for repeated 45-degree cuts. It’s also not ideal for very long boards unless you have good support. For most home workshop projects, though, it does the job well.
Choosing the Right Miter Gauge for You
Not all miter gauges are created equal. The one that came with your saw might work, but an upgrade can make a big difference. Here’s what to look for.
Key Features That Matter
When you’re shopping, focus on these three things. They are the biggest factors in getting a good gauge.
- Fit and Stability: The gauge must fit your saw’s miter slot with no play. A tight, smooth fit is non-negotiable for accurate cuts. Many experts suggest looking for one with a solid, zero-play bar.
- Angle Accuracy: Check if the angle scale is easy to read and lock securely. A gauge that slips mid-cut can ruin your wood and be dangerous.
- Build Quality: Look for a sturdy head made of aluminum or steel. Flimsy plastic parts can bend or break over time. A robust auxiliary fence is a big plus.
| Feature | Basic OEM Gauge | Upgraded Aftermarket Gauge |
|---|---|---|
| Fit | Often has some wiggle | Designed for tight, zero-play fit |
| Angle Lock | Basic knob, can slip | Heavy-duty locking mechanism |
| Head Size | Small, short fence | Large, often with extended fence |
| Adjustability | Limited | Micro-adjustments possible |
| Cost | Included with saw | Additional investment |
Aftermarket vs. The One in the Box
Most saws come with a basic miter gauge. It’s okay for getting started. But if you find yourself frustrated by wobble or inaccuracy, consider an upgrade. Aftermarket gauges from reputable brands are often worth the investment. They are built for serious work and can last for years. We found that many hobbyists and pros report much cleaner cuts after switching.
How to Use It Safely and Accurately
Safety always comes first. A miter gauge helps you control the wood, which is great for safety. But you must use it correctly. The United States Consumer Product Safety Commission (CPSC) always emphasizes keeping your hands away from the blade and using push sticks. The miter gauge helps you do this.
Step-by-Step Basic Use
Using it is a simple process. Here’s how to do it right, every time.
- Set the Angle: Loosen the lock. Pivot the head to your desired angle on the scale. Lock it firmly.
- Prepare Your Wood: Make sure the wood is flat. Place it against the flat face of the gauge head.
- Position the Assembly: Slide the gauge and wood into position so the blade will cut at the right spot.
- Turn On the Saw and Feed: Start the saw. Gently push the entire gauge and wood forward through the blade. Use a push stick if needed.
- Never Rush: Feed the wood at a steady, even pace. Don’t force it.
Pro Tips for Cleaner Cuts
Want to get the most out of it? Try these tips. They come from experienced woodworkers we’ve read about.
- Use an Auxiliary Fence: Attach a longer, flat piece of wood to the gauge’s head. This gives you more support and keeps the board from tipping.
- Check for Square Often: Use a square to check that the gauge head is perfectly 90 degrees to the table before making crosscuts. It can drift out of true.
- Clamp Your Work (If Needed): For small pieces, clamp them to the miter gauge’s fence to keep your fingers far from the blade. This is a smart safety move.
Final Thoughts: Why It’s a Workshop Essential
A table saw miter gauge is more than just a piece of metal. It’s what turns your table saw into a versatile cutting machine. It unlocks the ability to make precise angled cuts that would be impossible or dangerous otherwise. For any woodworker, from beginner to advanced, it’s a must-have accessory.
Remember, a good miter gauge fits snugly, locks firmly, and makes your work easier. Whether you use the one that came with your saw or invest in an upgrade, understanding how it works will help you build better projects. Now, you have the knowledge to use it confidently. Go make something awesome.
Conclusion
You now know exactly what a table saw miter gauge is and how it works. It’s the simple accessory that slides in your saw’s slot to make precise angled cuts. A good one fits tightly, locks securely, and helps you work safely. Your next step is simple: check the gauge that came with your saw. Wiggle it in the slot. If it feels loose or inaccurate, you understand why an upgrade can transform your cutting accuracy.
Use this knowledge to make cleaner frames, trim, and joints. A properly used miter gauge makes your table saw far more versatile. Now you’re ready to find the right angle for your next project.
Frequently Asked Questions
Do I really need a miter gauge for my table saw?
If you plan to make any angled cuts, yes. A miter gauge is essential for safely and accurately cutting corners, frames, and trim on your table saw. Without one, you’d be trying to hold wood at an angle by hand, which is dangerous and imprecise.
Can I use the miter gauge that came with my saw?
Yes, you can start with the basic gauge included with your saw. It will work for many simple projects. However, most hobbyists find that upgrading to a sturdier aftermarket gauge significantly improves cut quality and safety over time.
How do I know if my miter gauge is accurate?
Test it by making a test cut on a piece of scrap wood. Cut one end, then flip the board and cut the other end at the same setting. If you get a perfect 90-degree angle, your gauge is accurate. If the angle is off, you may need to adjust or replace it.
What is an auxiliary fence, and should I use one?
An auxiliary fence is a straight piece of wood you attach to the face of your miter gauge. You should use one for most cuts. It provides more support for your workpiece, keeps it from tipping, and improves both safety and cut quality. For more on table saw fences, which are crucial for straight cuts, see our guide.
Is a miter gauge the same as a miter saw?
No, they are different tools. A miter saw is a standalone power saw with a pivoting blade. A miter gauge is an accessory for your table saw that helps guide wood at an angle for cutting. They serve similar purposes but work in completely different ways.