Can a Table Saw Cut Plywood? A Helpful Overview

Yes, a table saw can definitely cut plywood. It’s a fantastic tool for making straight, clean cuts A jobsite table saw is designed for portability and can handle plywood sheets. on plywood sheets for your projects. You just need to use the right blade and techniques for the best results.
Cutting plywood on a table saw is common for many DIYers and woodworkers. We found that choosing the correct blade is key for avoiding tear-out and getting a smooth edge. Many table saws are powerful enough to handle plywood efficiently.
- Table saws are great for plywood.
- Use the right blade to avoid rough edges.
- Proper technique ensures safe and clean cuts.
- Always follow safety guidelines.
Let’s walk through exactly how to get the best plywood cuts from your table saw.
Cutting Plywood on Your Table Saw: A Practical Guide
Can you cut plywood with a table saw? Absolutely! Your table saw is a workhorse for breaking down large sheets of plywood. It’s the best way to get those long, straight cuts you need for shelves, cabinets, or any project. We found that with the right setup, you can get surprisingly clean edges and make the process much smoother.
Many DIYers worry about splintering or tear-out when cutting plywood. That’s a valid concern, but it’s usually down to the blade and technique. Let’s make sure you get the best results possible.
Choosing the Right Blade for Plywood
This is arguably the most important factor for cutting plywood cleanly. A standard 24-tooth blade, often used for rough lumber, can leave a fuzzy edge on plywood. You want a blade designed for smoother cuts.
Understanding Tooth Count and Type
For plywood, you’re generally looking for blades with a higher tooth count. More teeth mean smaller chips are being removed, leading to a smoother surface. We found that blades with 60 or 80 teeth are excellent for plywood.
- 60-tooth blades: A great all-around choice for smooth cuts on plywood and other sheet goods.
- 80-tooth blades: These offer the smoothest possible finish, almost like sanding already. They can be slower to cut through thicker plywood.
Beyond the tooth count, the blade’s grind matters. Blades with a “High Alternate Top Bevel” (ATB) grind are designed to slice through material cleanly, leaving a smoother edge. Many woodworking resources recommend ATB or “Combination” blades for sheet goods (Popular Woodworking).
The Impact of Blade Quality
Don’t skimp on blade quality. A dull or poorly made blade will struggle with plywood. It can overheat, leading to scorch marks, and will certainly cause more tear-out. We found that investing in a reputable brand made a noticeable difference in cut quality and ease of use.
Consider a blade specifically marketed for “Plywood” or “Sheet Goods.” These often have the optimal tooth count and grind for this material.
Setting Up Your Table Saw for Plywood Cuts
Once you have the right blade, setting up your saw correctly is key. This involves more than just putting the blade on; it’s about optimizing the entire cutting system.
Blade Height Adjustment
The general rule for blade height is to set it so the tips of the teeth just clear the surface of the wood. This means the teeth are cutting on an arc, providing a clean slicing action. If the blade is set too high, it can increase the risk of kickback, and if it’s too low, you’ll have to push harder.
We found that a common sweet spot is about 1/8 to 1/4 inch of the blade showing above the material. Make sure your blade guard clears the wood too!
Using a Zero-Clearance Insert
A zero-clearance insert is a simple upgrade that makes a huge difference. It’s a plate in the table saw’s throat that fits snugly around the blade. Standard inserts have a large gap, allowing small splinters to fall through and potentially get caught under the blade.
A zero-clearance insert supports the wood right up to the blade. This drastically reduces tear-out on the bottom of the cut. Many table saw manufacturers offer these, or you can find aftermarket ones. You can even make one yourself if you’re handy!
Dust Collection is Essential
Cutting plywood creates a lot of fine dust. Good dust collection is not just about cleanliness; it’s about safety and blade performance. A dedicated dust collection system or a shop vacuum attached to your saw’s dust port is highly recommended. Many studies show that fine dust particles can pose respiratory hazards (CDC).
When the blade chamber is clear, the saw operates more efficiently, and your blade stays cooler, prolonging its life. It also makes cleanup a breeze.
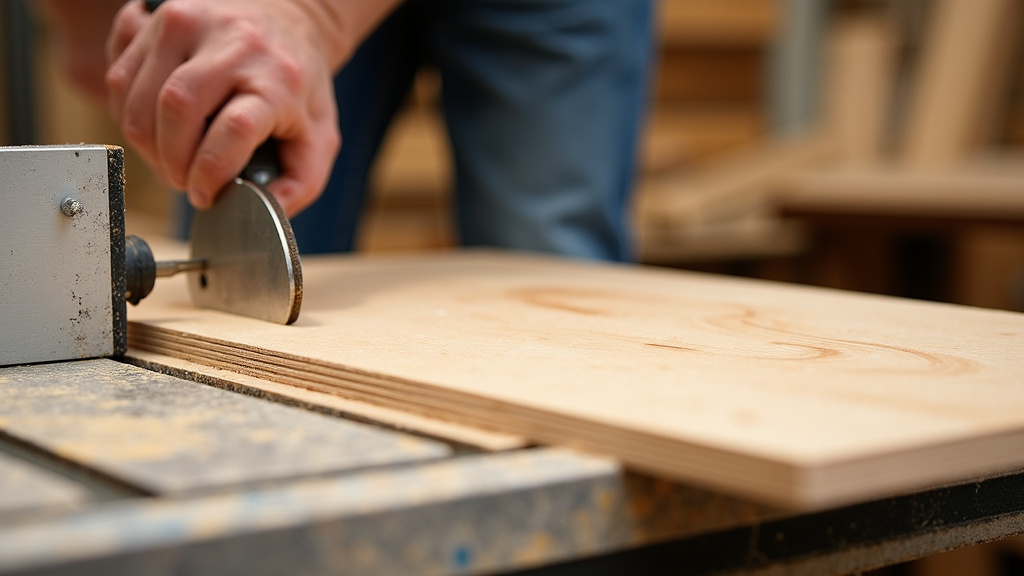
Techniques for Cutting Plywood Safely and Effectively
With the right blade and setup, you’re ready to cut. Safe and effective technique will ensure clean results and keep you out of harm’s way.
The Importance of Plywood Support
Plywood can be unwieldy. For long cuts, especially with larger sheets, you need to ensure the piece is well-supported. The offcut piece, once separated, can cause binding or drop unexpectedly, leading to a rough cut or a dangerous situation.
We recommend using a table saw outfeed table or roller stand. This supports the plywood as it passes the blade and prevents it from sagging or falling. This is crucial for maintaining control.
Using the Rip Fence Correctly
For cuts parallel to an edge (ripping), the rip fence is your guide. Make sure the fence is perfectly parallel to the blade. A slight misalignment can cause the wood to bind, leading to kickback. Always ensure the fence is locked down securely.
Never use the rip fence for crosscuts (cutting across the grain). For those, you should use a miter gauge or a crosscut sled.
Crosscuts and Miter Gauges/Sleds
When cutting plywood to length (crosscutting), always use a miter gauge or, even better, a crosscut sled. These tools hold the wood firmly against the fence and guide it through the blade, preventing the wood from shifting.
A crosscut sled, which is a jig you can build or buy, provides the most stability and accuracy for crosscuts. It features a fence that runs the full length of the table, ensuring your wood stays square to the blade. We found crosscut sleds to be a game-changer for consistent results.
Minimizing Tear-Out: A Quick Checklist
Even with the best setup, a little tear-out can happen. Here’s a quick checklist to minimize it:
- Use a high-tooth count blade (60+).
- Ensure the blade is sharp and clean.
- Use a zero-clearance insert.
- Score the cut line with a utility knife.
- Try cutting with the best face of the plywood down.
- Use painter’s tape along the cut line on the top surface.
For the top surface where the blade exits, you can also apply painter’s tape along the cut line. This gives the wood fibers an extra layer of protection and helps prevent splintering as the cut is made.
Riving Knives and Blade Guards
Your table saw should have a riving knife or a splitter behind the blade. This device stays with the blade and prevents the kerf (the gap the blade cuts) from closing up, which is a major cause of binding and kickback. Always ensure it’s in place and properly aligned.
Similarly, keep your blade guard on whenever possible. It helps contain dust and provides a safety barrier. Some tasks might require temporarily removing it, but only if you understand the risks and have alternative safety measures in place.
What Type of Plywood Matters?
While your table saw can handle most plywood, some types are easier to cut than others. The type of plywood and its core construction can affect the cut quality.
Hardwood vs. Softwood Plywood
Hardwood plywood (like birch, oak, maple) often has a more uniform, denser core and smoother face veneers. It generally cuts very cleanly. Softwood plywood (like pine) can sometimes have voids or knots in the core layers, which can lead to more tear-out or chipping. We found hardwood plywood to be more forgiving.
Baltic Birch and Cabinet-Grade Plywood
These are typically made with many thin layers of birch and very few voids. They are known for their stability and smooth edges, making them a pleasure to cut on a table saw. They hold up well and don’t tend to splinter as much.
Construction-Grade Plywood
This plywood is often less expensive and might have a coarser core with more voids. It’s designed for structural use, not fine furniture. You’ll likely see more tear-out and splintering with this type. Using a finer blade and extra tape can help, but expect a rougher finish.
Conclusion
You’ve learned that your table saw is an excellent tool for cutting plywood. The key to success lies in choosing the right high-tooth count blade and properly setting up your saw with a zero-clearance insert. Supporting your plywood with an outfeed stand or roller stand is also vital for safety and cut quality. By following these tips and prioritizing safety, you’ll achieve smooth, clean plywood cuts for all your projects. Now, go ahead and try it out on your next build!
Frequently Asked Questions
What is the biggest risk when cutting plywood on a table saw?
The biggest risk is kickback, which can happen if the plywood binds against the blade. This can be caused by a dull blade, misaligned fence, or the offcut piece dropping unexpectedly. Always use a riving knife or splitter and ensure your material is well-supported.
Can I use my standard table saw blade for plywood?
While you can use a standard blade, we found it often results in significant tear-out and splintering. For clean plywood cuts, it’s highly recommended to use a blade with a higher tooth count (60-80 teeth) designed for sheet goods.
How can I prevent splintering on the bottom of my plywood cuts?
Using a zero-clearance insert is the best way to support the wood right up to the blade, preventing splinters from forming underneath. Additionally, applying painter’s tape along the cut line on the top surface of the plywood can also help minimize tear-out.
Is it safe to cut thin plywood (under 1/4 inch) on a table saw?
Cutting thin plywood is generally safe if you use the correct blade and techniques. Ensure the thin material is well-supported and doesn’t flex into the blade. A crosscut sled or miter gauge is essential for keeping it stable during the cut.
Will construction-grade plywood cut as cleanly as cabinet-grade plywood?
Generally, no. Construction-grade plywood often has a coarser core with voids, leading to more tear-out and splintering. Cabinet-grade or Baltic Birch plywood, with its many thin, void-free layers, will produce much cleaner edges on your table saw with less effort.